
Hubby Macropad
Last year I viewed a lot of videos on YouTube about building your own Macropad. I thought that it would be a great and useful thing to create one for myself with some unique features and started designing one in KiCad (not sponsoring this project) based on the ATmega 32U4 which has built-in support for USB and is a good choice when creating your own keyboard.
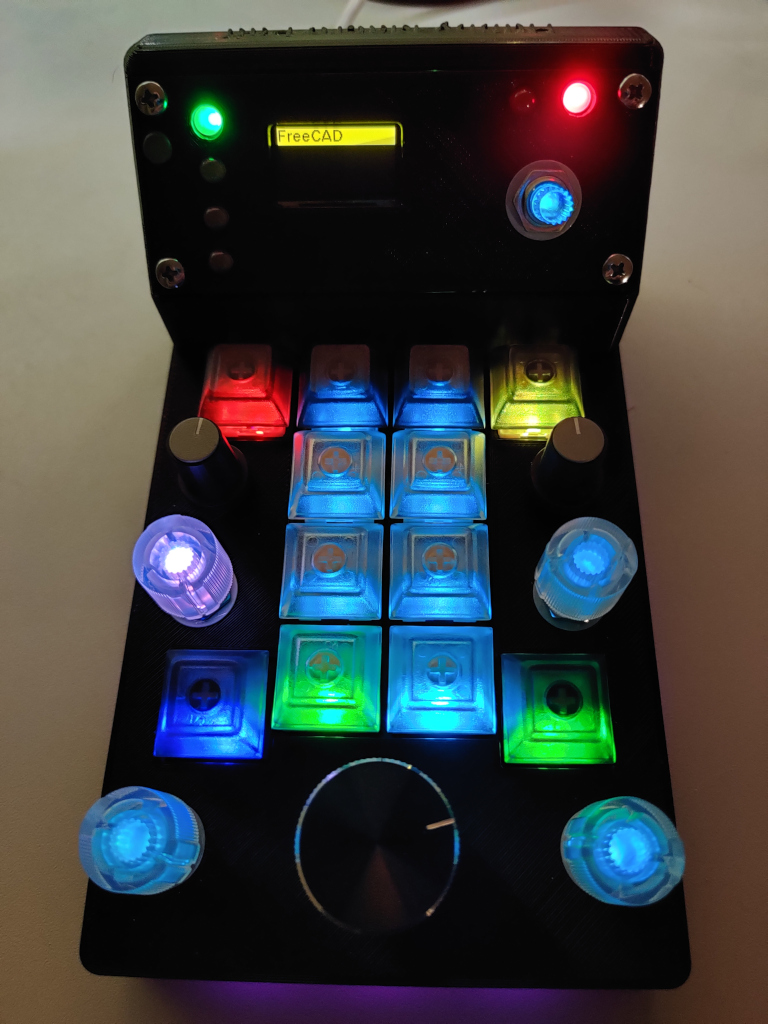
I wanted it to have features such as quite a few rotary encoders as well as keyboard keys. They should all be backlit by individual RGB leds.
The rotary encoders should be placed around the edges of the macropad with keys in the centre to easily access the encoders. I ended up using Marko Pinteric’s – Yet another algorithm for rotary encoder control solution for polling the encoders using a MCP23017.
I was also inspired by Grumpy Developer’s CIMDIT and decided to use the MCP23017 for scanning the keyboard keys as well.
I wanted to have a small display such as an OLED to show current information and functionality. While at it I could add lights to the bottom of the case as well as foot-pedals! An LDR would be nice to adjust the LED intensity of the case light.
Most keypads uses a common firmware that is pre-programmed using QMK, VIA, or similar variants. However I wanted my keypad to be very dynamic so I wanted a basic firmware that sends the same keyboard codes for all the keys and encoders and then having an application running on Ubuntu to switch the actual actions depending on the current application.
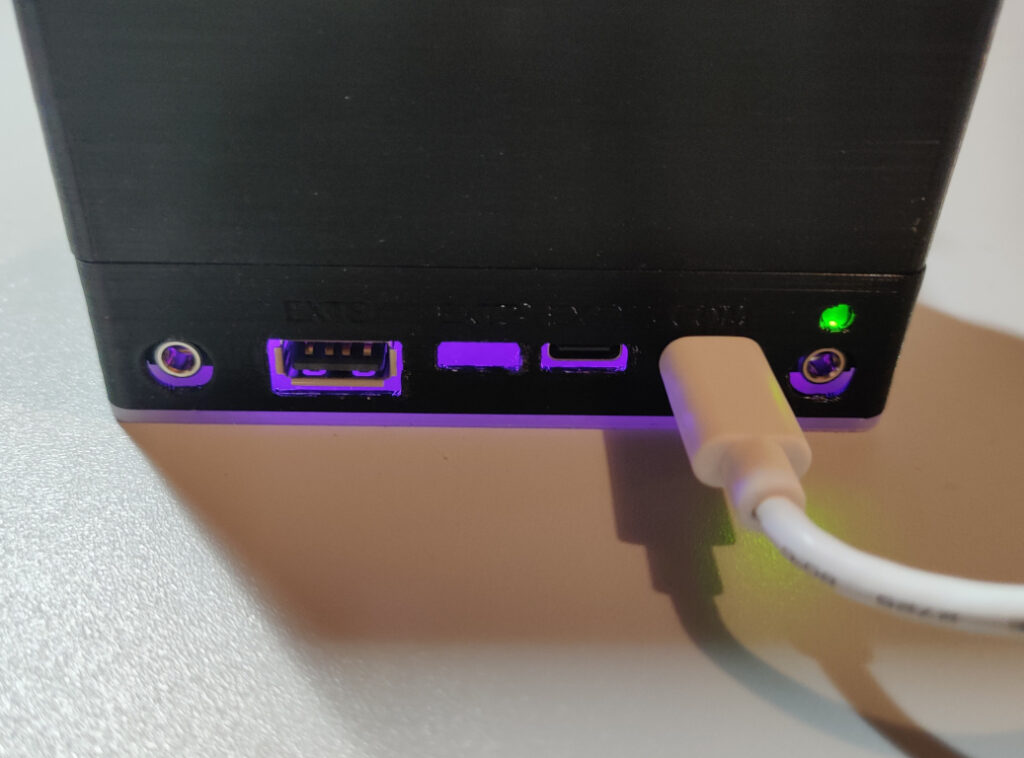
During the design I realised I might as well integrate an USB-hub into the Macropad, hence the name Hubby Macropad. I did a lot of research in order to understand the design requirements for USB-hubs. The hub is only built to support the USB 2.0 standard. Here I was very much inspired by Josh Johnson’s Hub 16 design.
The finished board was produced by JLCPCB (not sponsoring this project).
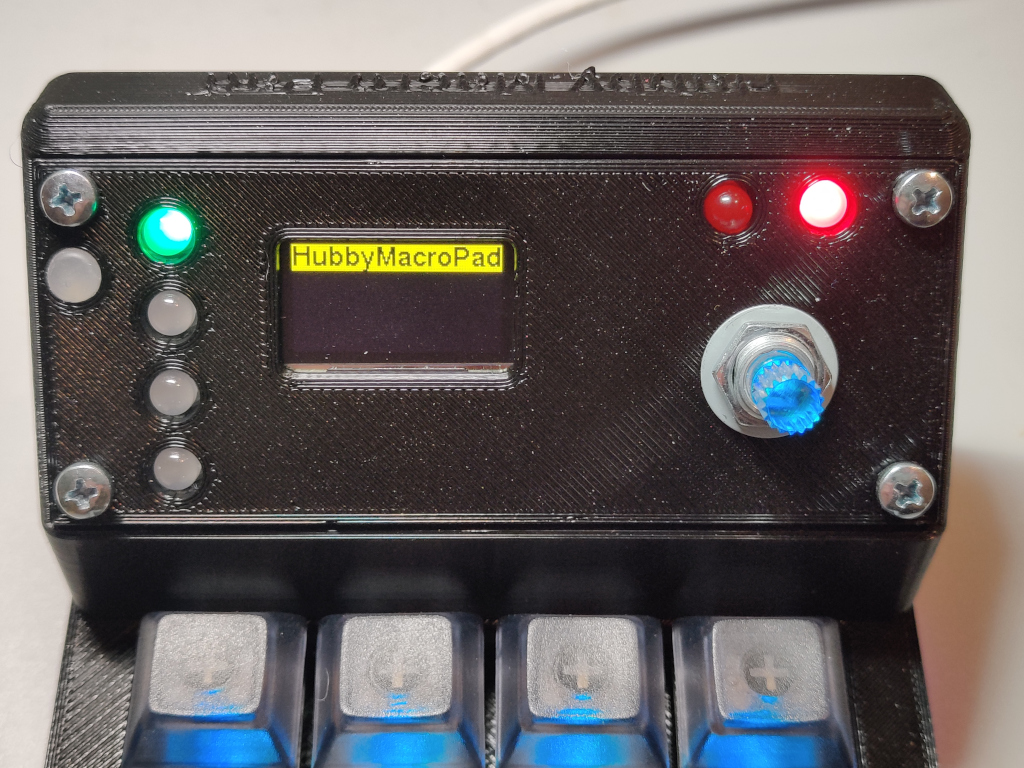
-
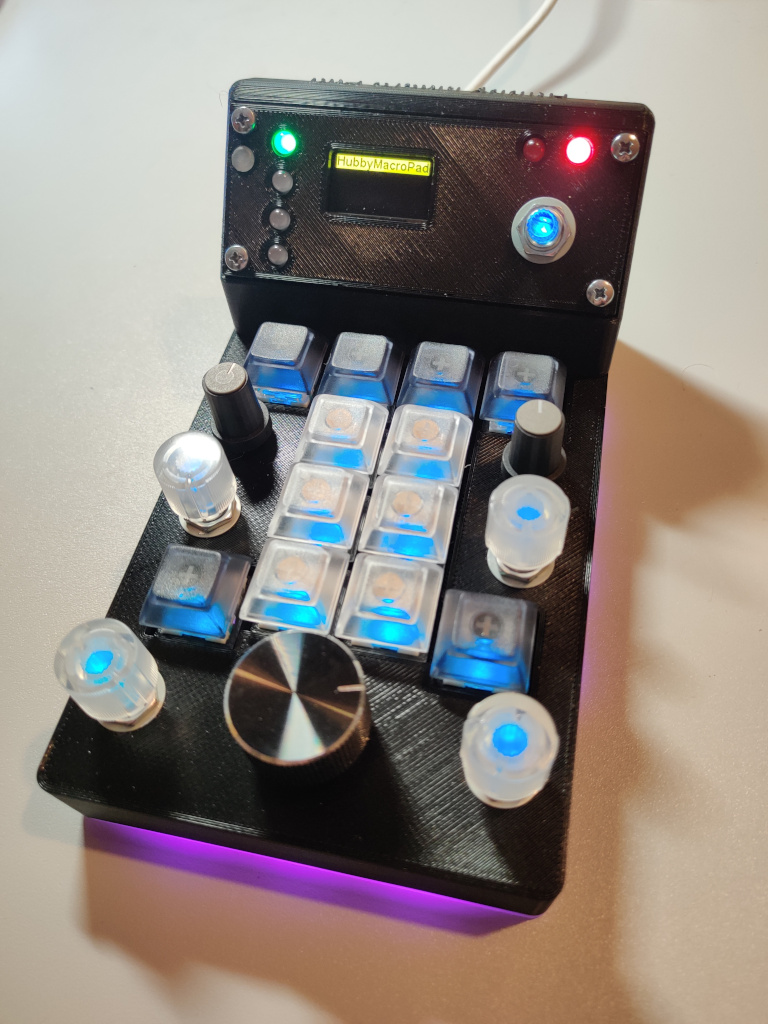
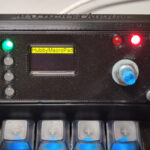
- Hubby Macropad front
-
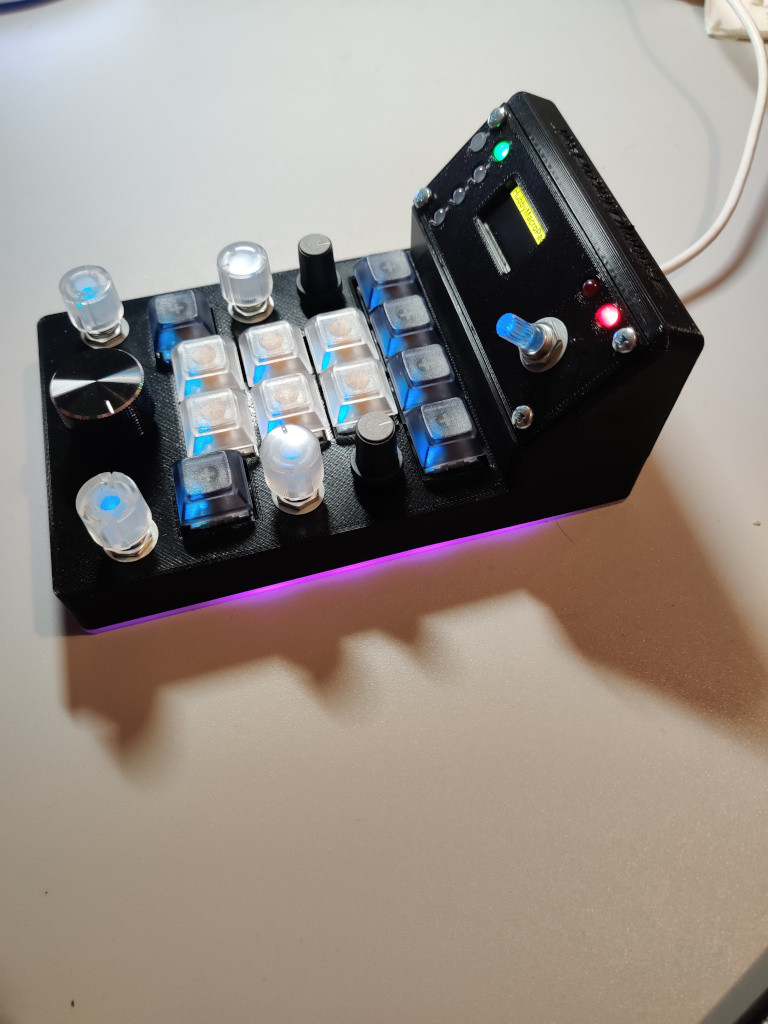
- Hubby Macropad side
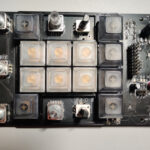
-
- Hubby Macropad back
-
- Hubby Macropad app
-
- Hubby Macropad panel
-
- Hubby Macropad pcb
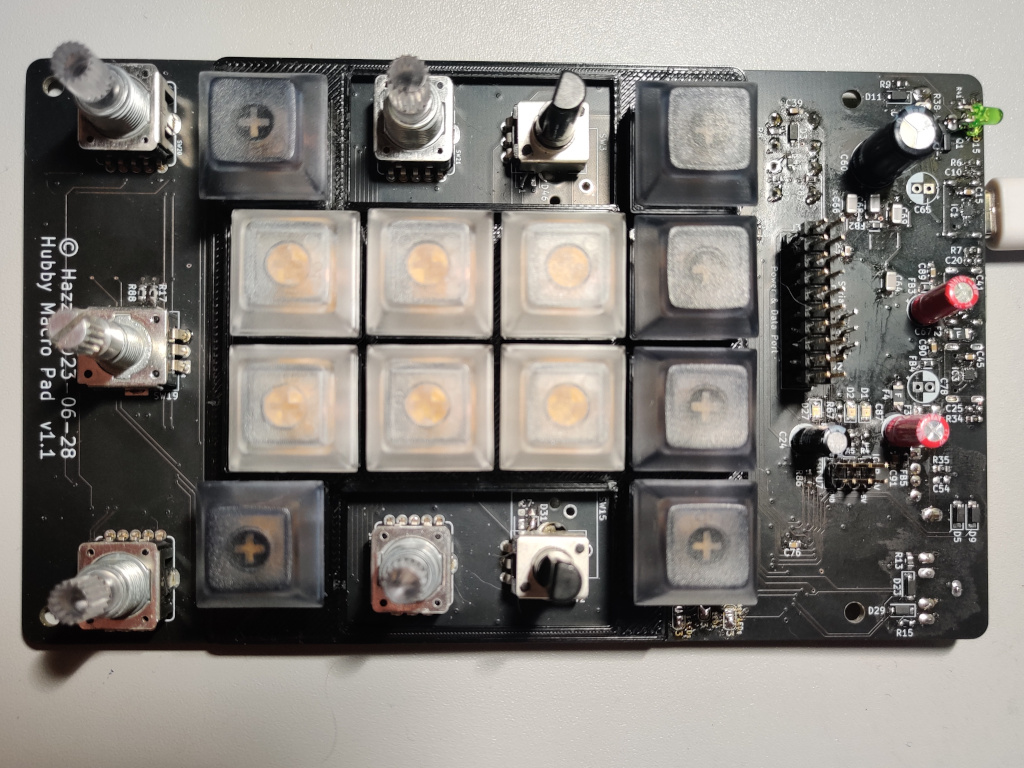
-
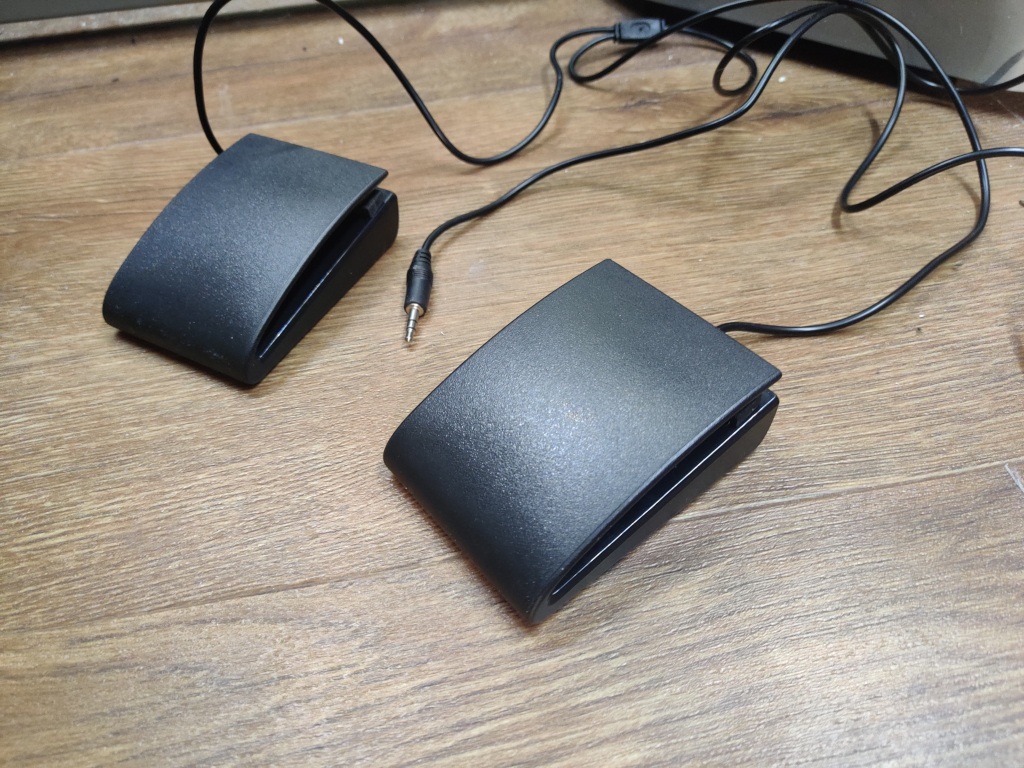
- Hubby Macropad foot pedals
The case
The 3D-printed case consists of four parts and was designed in FreeCAD (not sponsoring this project).
The main body of the case, the top angled case, and the front plate were all printed in black PLA. The bottom part of the case was printed in transparent PLA. I used standard inserts and soldering adapter from CNC Kitchen (not sponsoring this project) to easily mount the parts together.
I actually used the Hubby Macropad when drawing and designing the case in FreeCAD. It was really helpful and made the creation a lot easier. Especially mapping the zoom and editing properties was nice.
The detailed guide by Sayanee Basu’s – I designed my first electronics enclosure for 3D printing on YouTube helped me getting started with importing the KiCad PCB’s and starting the design of my case in FreeCAD.
Firmware
As there are only about 28KB of programmable memory on the ATmega32U4 there is not much room left.
Although there are a lot of stuff going on, the buttons and encoders are nicely responsive!
Host companion app
On Ubuntu there is a Python script running that updates the macropad as soon as the active application or the title of the active window changes. I went with a similar solution to the one by Lukasz – DYI Macro Keyboard on Linux, à la Elgato Stream Deck.
The Python script can update
- the OLED text showing current application
- the color of the backlit keys and encoders
- the color of LED at bottom of the case
- the mapping to corresponding key (or keys) or mouse actions
Firmware and Python scripts will be added and updated here in the near-ish future.
Features
- External power source with automatic power source switching to power the hub (not used at this moment)
- USB-hub (with USB 2.0 support):
- 1 pcs USB-C to host
- 2 pcs USB-C host
- 1 pcs USB-A host
- 6 pcs programmable rotary encoders
- 12 pcs programmable keys
- 2 + 2 pcs foot-pedals with 3.5 mm jacks
- Off-line mode with sending key information
- Sending serial data
- Display text (e.g. name of current application)
- Default key / rotary color
- Idle key / rotary specific colors (e.g. colors for current application)
- Case LED color
- Serial connected and receive data status
- USB host connected LED
- Power LED
- On-board diagnostic LEDs
- status
- transmit USB/serial data
- receive USB/serial data
Components used for this project
The following list is a selection of the components used for this project:
- 2 pcs custom boards with 3D-printed case (custom design by Hazze Molin)
- 1 pcs ATmega 32U4-AU
- 1 pcs 128KB Serial SRAM
- 12 – 14 pcs backlit Cherry MX compatible keyboard keys
- 5 pcs backlit rotary encoders
- 1 pcs standard rotary encoder
- 2 pcs analogue potentiometers (optional)
- 1 pcs LDR for ambient light sensing
- 1 pcs OLED dual-color display
- 4 pcs THT WS LEDs function indicators (online, serial data, foot pedal, rotary encoder)
- 13 pcs LEDs case light
Recent Comments